
STUDIO LIGHTING THEORY
INTRODUCTION:
Learn a bit about how the control of lighting can improve your photos, and look at how some studio photos were lit. In the next assignment you will put this theory into practice.
BASIC REQUIREMENTS:
Look at the “Studio Photography Info” below, or ask for a copy of the document.
PART A:
Answer the following questions IN YOUR OWN WORDS – neatly on a new sheet or typed.
1. What are 3 control advantages in using artificial light?
2. From which direction does natural light usually come?
3. Strong sunlight is quite harsh. Name some forms of artificial light that can duplicate this harshness.
4. What must be controlled to simulate natural light?
5. What is diffusion and what is its effect upon a light’s quality?
6. What is the difference between specular reflection and diffuse reflection?
7. Give an example of a surface that would cause specular reflection.
8. Give an example of a surface that would cause diffuse reflection.
9. What kind of surface absorbs most light?
10. What kind of materials might you use to make a diffuser?
11. Name 5 lamp positions using one light to light a subject.
12. What happens to the subject if you use a single spotlight and you add a diffuser?
13. What is bounced light?
14. When photographing strong, 3D shapes, what gives control of tonal values?
15. In lighting situations, what is the inverse square law?
PART B: PICTURE ANALYSIS
• Look through magazines and find 2 GOOD Photos that were taken in a studio.
• Make sure photos are different – Have your teacher check that they ‘work’ for this assignment.
• For each image:
o Explain how those pictures were taken, referring to types of lighting and number of lights.
o Create a diagram of the setup most likely used for both photos there is an Illustrator template for this
• Present your materials Neatly
KEY CRITERIA:
Complete questions, Studio Photos, Lighting Diagrams done in Illustrator, well explained
FULL FACE |
|||
PROFILE |
|||
| Maybe also this: |
|||
3/4 FACE |
|||
 |
|||
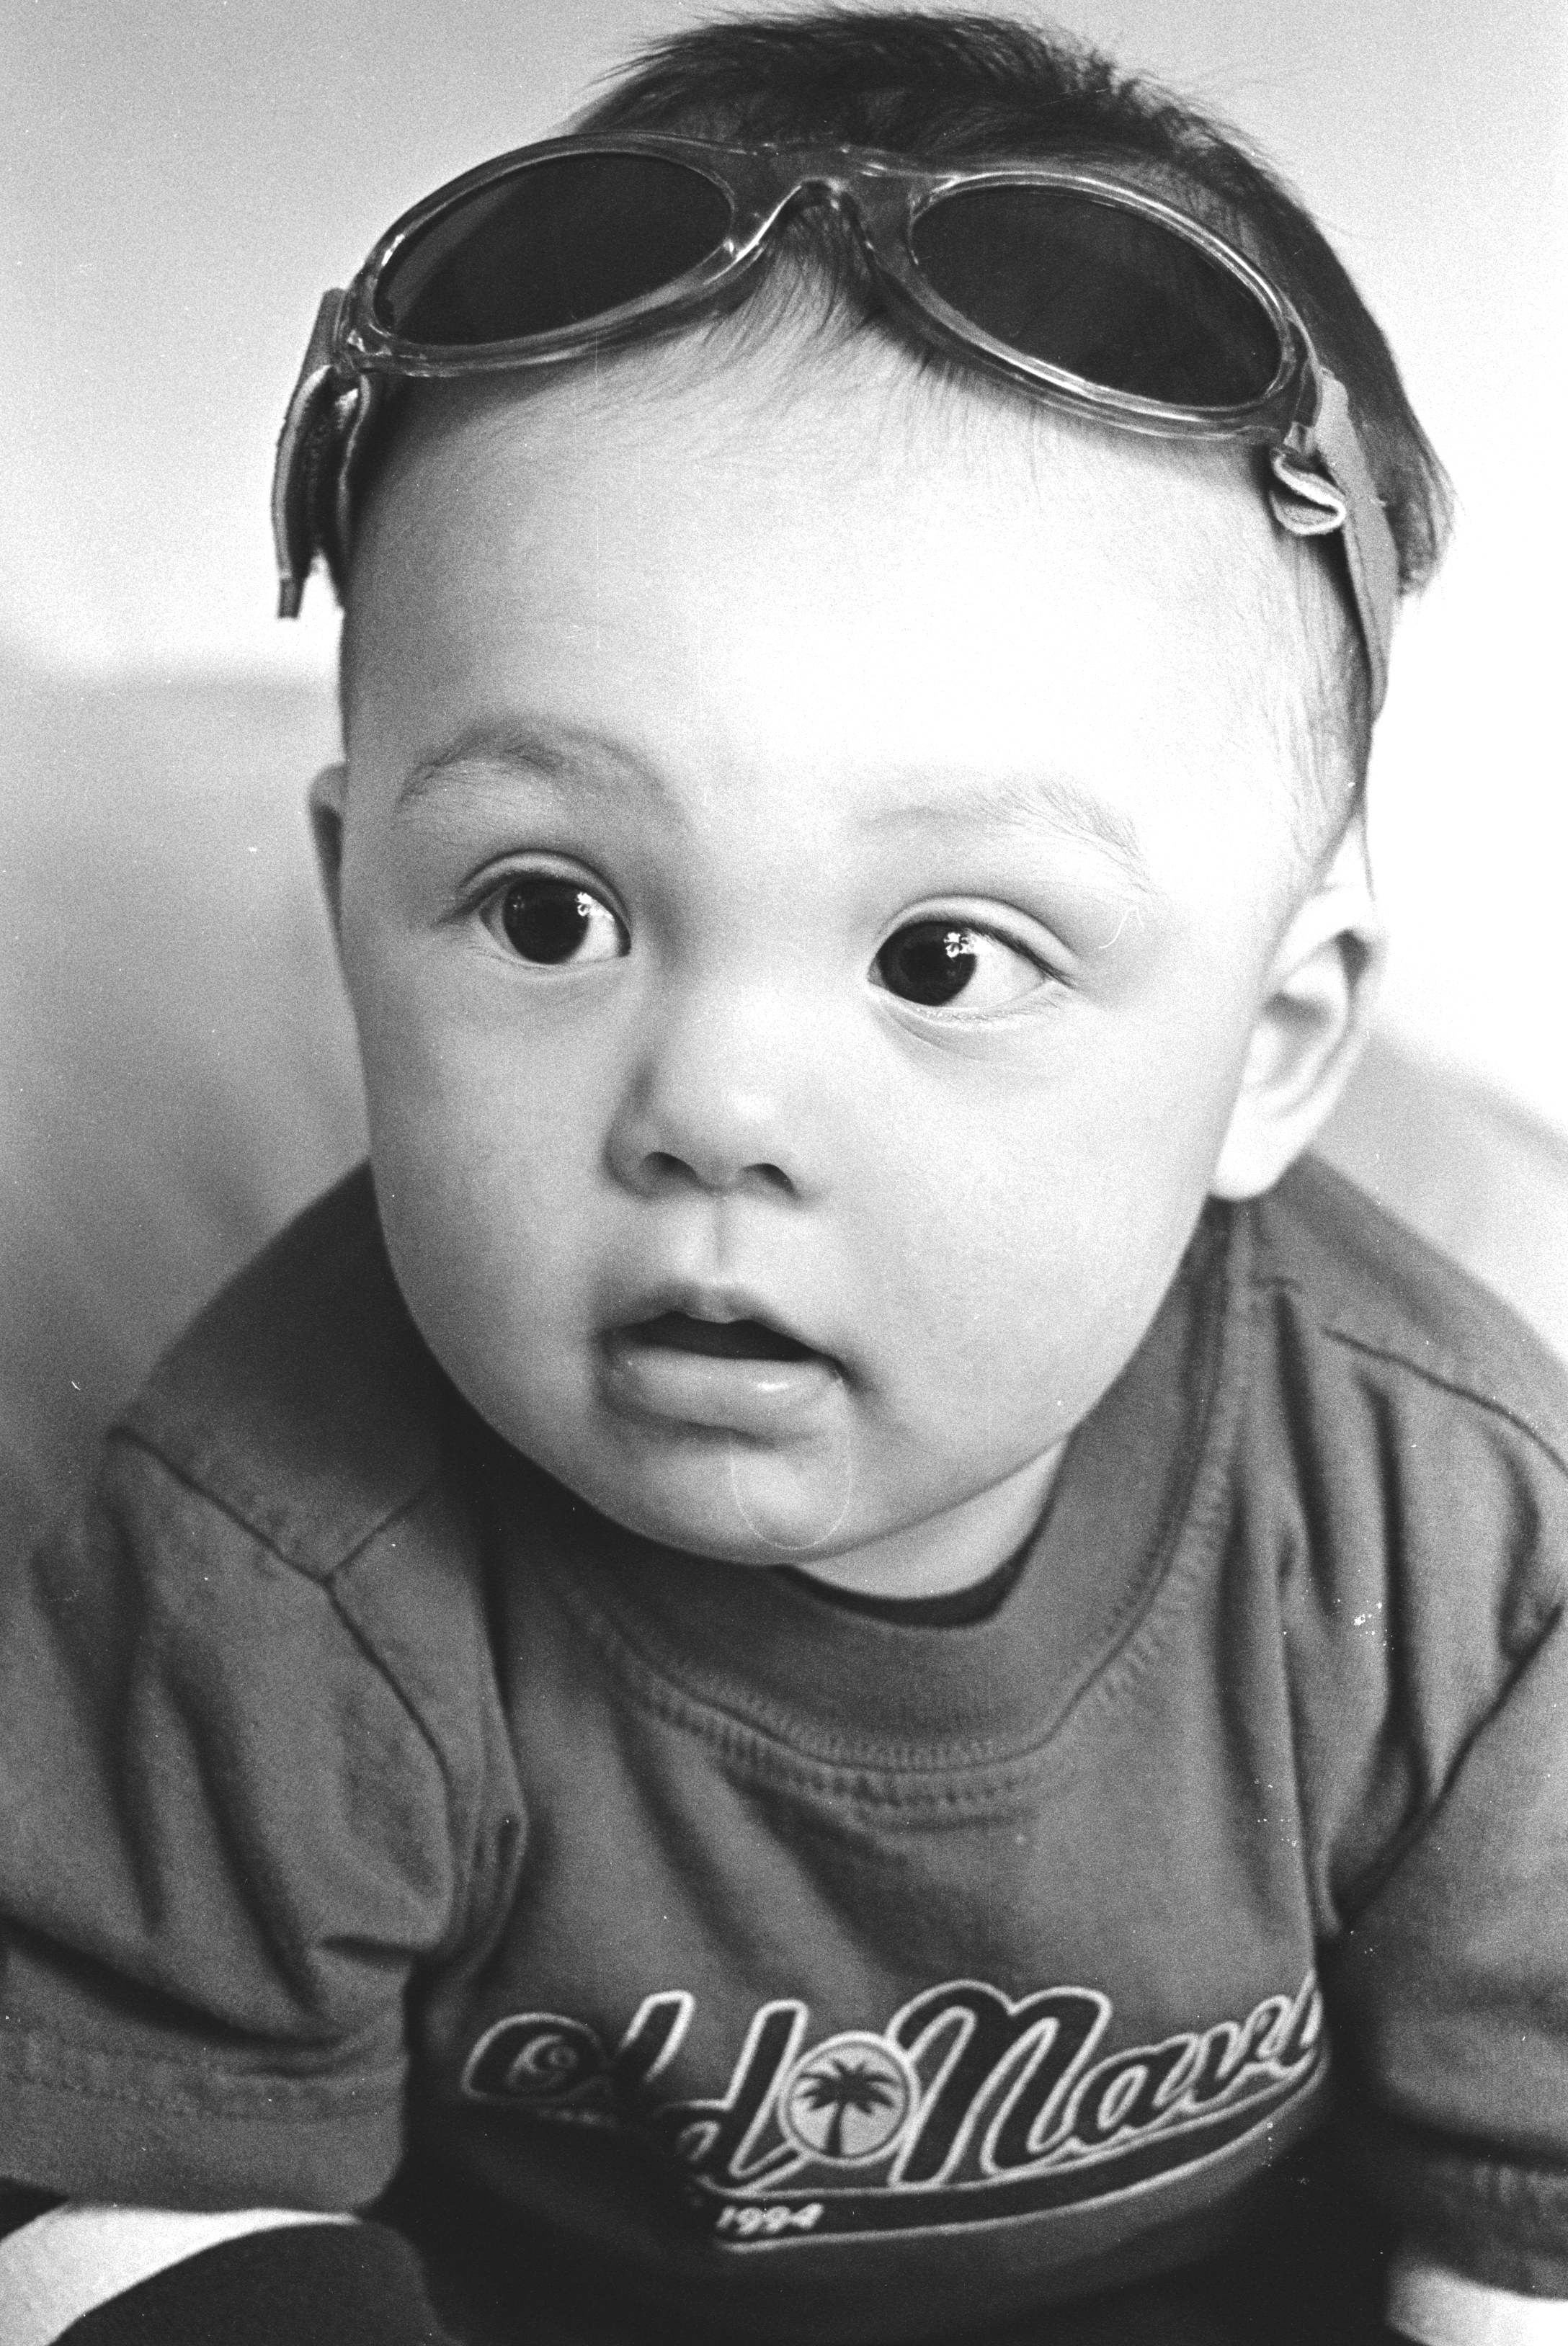
UPPER BODY


HUMOUR
FULL POSE
This is not part of the assignment, but an option if you are on a roll and want to try:
ENJOY!

LIGHTING TIPS
Reflectors
Most lighting equipment is very expensive. You can, however, manipulate light without spending a lot of money on professional lighting packs. The most important thing to use if you are directing natural light, is a reflector. A reflector is used to bounce incoming available light onto the subject. For instance, if a person is standing in a dark room with a window to the right of them, the left side of their face will get next to no light. To remedy this, place a reflector, facing the window, left of the subject’s face. You can use white Bristol board or foam core for a soft light, or a board covered in aluminum foil for a harsher glare. Using a mirror as a reflector is very effective in balancing the light, though the glare is much harsher. The reflector you use should be quite large (about the size of a Bristol board) so as to adequately light the subject. Experiment with other materials for different effects.
Flash
Some photographers don’t like using a camera flash because it tends to wash out a person’s face, resulting in a pale, shadowless, unsculpted image. To try and counter this, bounce the flash off a white ceiling, wall, or reflector so that the light is not coming directly from the flash unit, and is not aimed at the subject head-on. This will make the light softer and eliminate red-eye. Remember when using a flash that the shutter speed must be in synch with the duration of the flash or else only part of the image will be exposed. For many 35mm cameras, the setting is 1/60 second, others work at 1/125. Before shooting, check the camera manual or look on the shutter speed dial and adjust according. The correct speed will usually be highlighted.
In-Camera Light Meters
Light meter readings can be performed in a number of cameras by pushing down slightly on the shutter. This will cause two red lights to appear on the side of the frame – one representing shutter speed, the other, aperture. The aim is to have the two dots meet. This can be achieved by adjusting the aperture or shutter speed or both. If you are photographing a person in front of a window, get up close to the subject and take your settings there, with the lens aimed at the face. Otherwise, the camera will expose for the window and the person will appear too dark.
Effects
If you are using lights on tripods, there are some neat techniques you can try. One is to focus the light by wrapping a cone of black cardboard around the bowl. Check the paper continually to make sure that it doesn’t burn. Try bouncing the light off a board. Put gels or sheets of plastic in front of the light to change the effect. A blue gel will appear like sunlight on black and white film. Certain fabrics can also help diffuse light. Be aware that the material you are using is not over-heating so that fires do not occur.